At For Your Party, you have complete freedom to design a one of a kind product for your event. Along with the thousands of designs we have available, you can also upload your own custom art using the FYP Customizer for a truly bespoke experience. Whether you have a custom wedding monogram or a business logo, we can print your custom art on any of our products.
To make your art shine, we offer different print styles, including foil stamping, digital ink, and embossing. To ensure that your art looks as good as possible in whatever medium you choose, let’s take a walk down file format lane. Help us help you, with our custom art print file guide!

A Printing Refresher
To start, let’s do a quick rundown of our different printing styles. We have three main styles: Foil stamping, digital printing, and embossing. Of course, if you want the complete rundown, check out this blog!
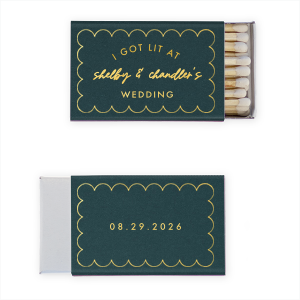
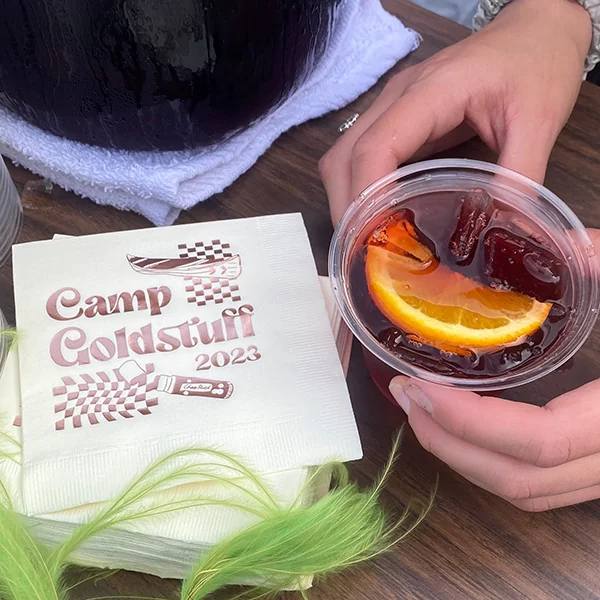
Foil Stamping
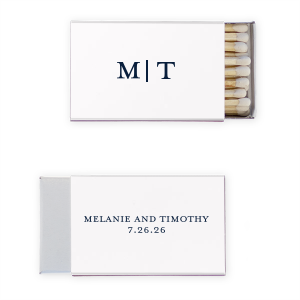
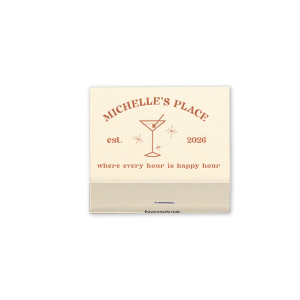
For our signature foil stamping technique, your artwork is made into a metal die, and then stamped through a colored foil at a high temperature onto a substrate (for instance our matches or napkins). It’s an alchemical process, because each color of foil needs a different temperature to work well, and is slightly more or less prone to filling in and bleeding (shoutout to our skilled production team!). The result is beautiful color, paired with a slight debossing effect that can be felt in art with solid patches of color, or text that’s bolder.
If you want your custom art foil stamped, you’ll want a vector file with everything in black, embedded, and outlines created from all type.

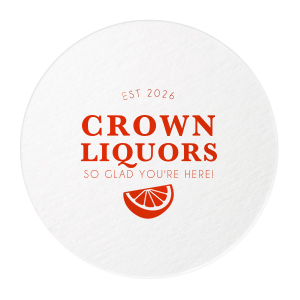
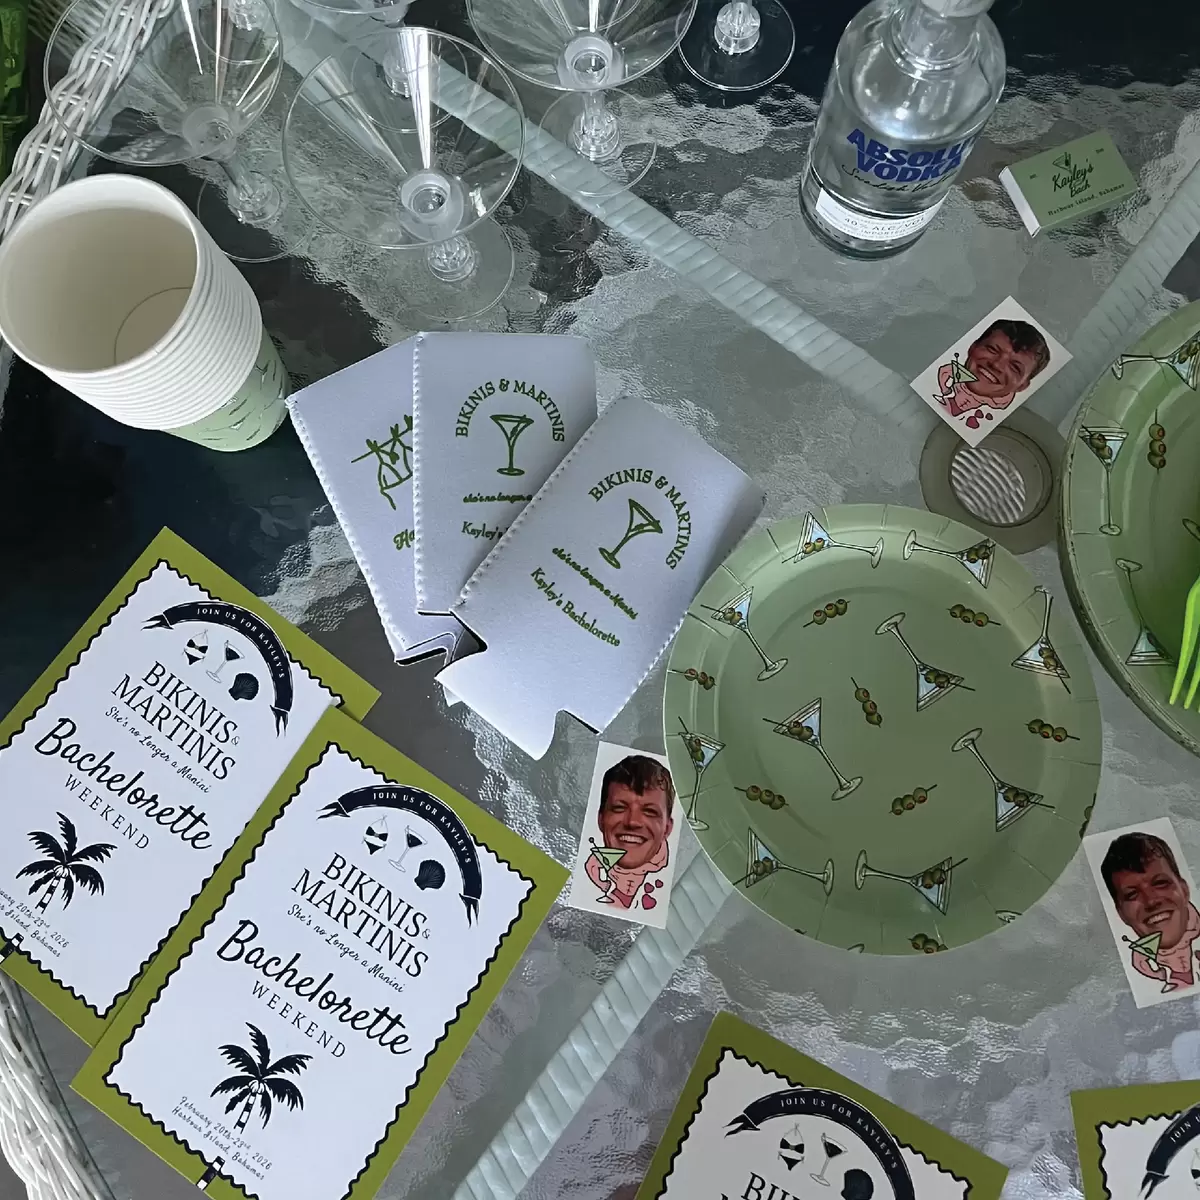
Digital Printing
Another option for printing your custom art on our party accessories is digital printing, which gives great color at a lower cost. Think of this as a really fancy version of your own printer at home, where colored inks are applied right onto a surface.
Digital printing has three main advantages to consider when you are selecting which print type is best for you!
- Digital printing can capture tiny details in small areas better than foil stamping.
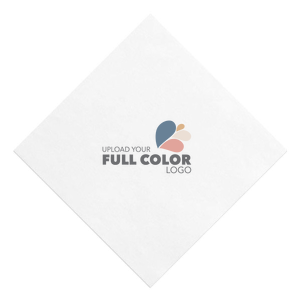
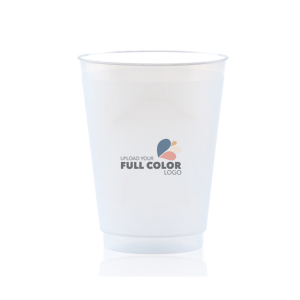
- Secondly, it can use a full range of colors on one product, meaning we can print in full color. This is a great option for printing pictures or a multi-colored logo on a custom cup or custom photo napkin.
- Last, but not least, digital printing has a bit more colorfast, so this printing style works great for guest towels or anything that’s going to be handled with wet hands.
If you are interested in digital printing for your custom art, you’ll want a .jpg or .png with as high a resolution as you can get.

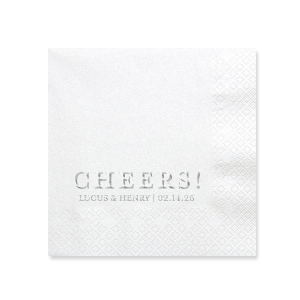
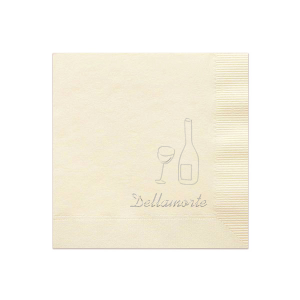
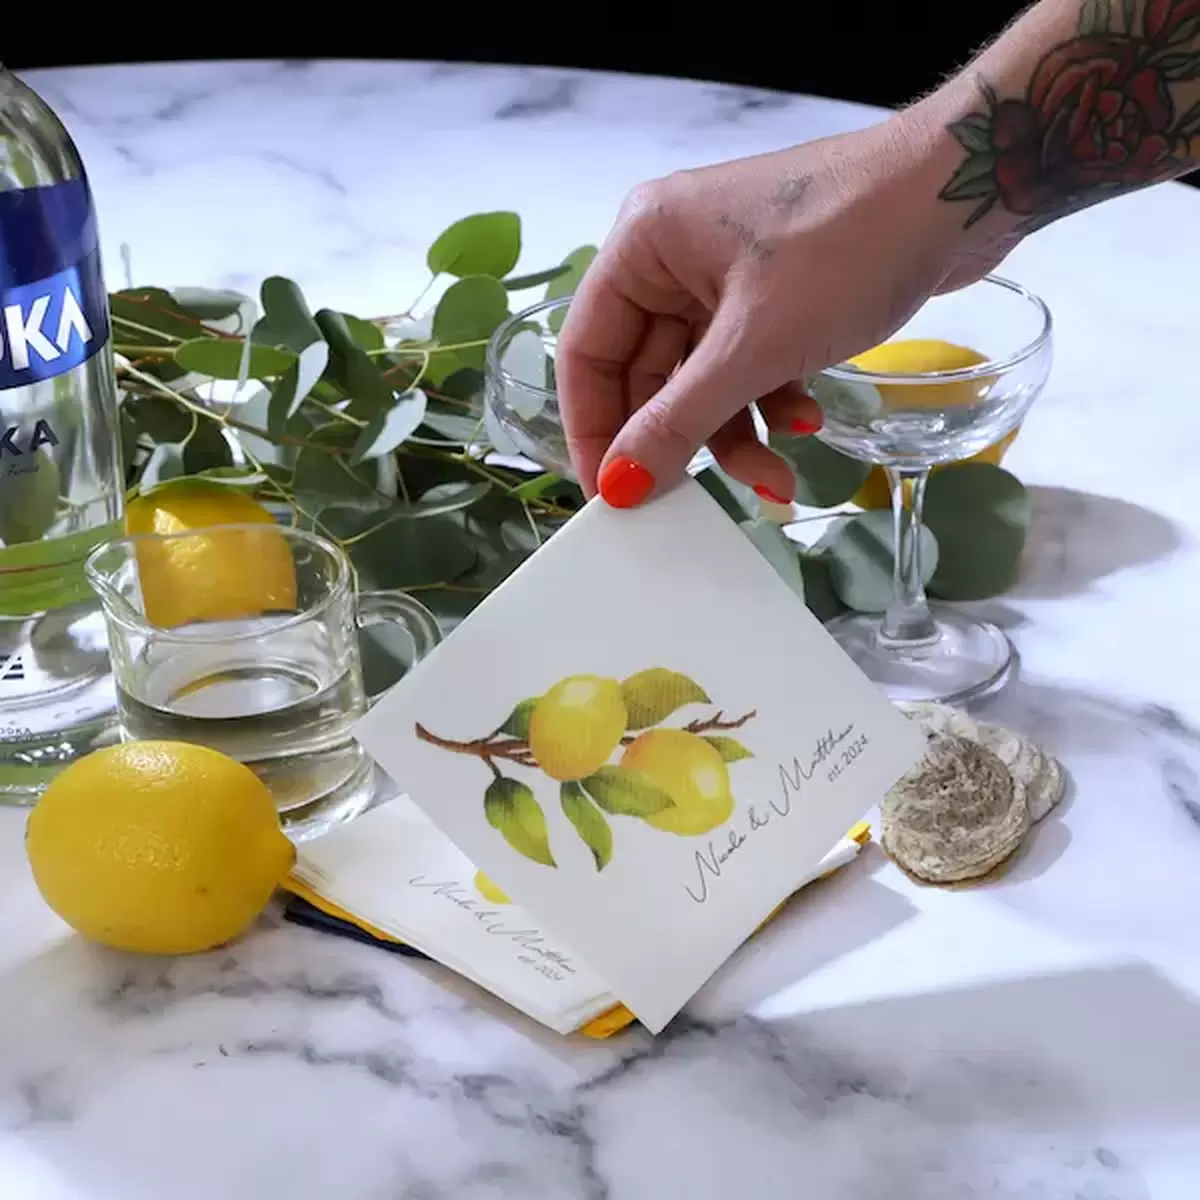
Embossing
Lastly, embossing leaves a colorless raised impression of your custom art. Embossing is the process of using two interlocking dies to make a raised impression of artwork. No ink is used in this process, so the impression is the same color as the rest of the napkin. They have a great feel in the hand, because the embossing lends a great texture to the napkins. The result is subtle and classy, perfect for a black-tie wedding or elegant corporate events.
If you want your custom art embossed, you’ll want a vector file with everything in black, embedded, and outlines created from all type.

File Types, Explained
Different types of printing require different types of print files, so let’s go over the basics of different file types you will need to make your custom art shine.
Vectors and Rasters
The main difference in print files types is between raster and vector files. A raster graphic is made up of individual pixels, which are arranged as squares on a grid, with each square having its own separate color. If you’ve ever zoomed in on a photo and noticed it becoming “pixely” at a high degree of zoom, that’s a raster image! All photos, for example, are raster images, since a raster is needed to capture the wide ranges and subtle variances in color present in a photo. This is the print file used when opting for digital printing for your custom art.
In contrast, a vector image is made up of purely shapes and points, meaning that they can be scaled up or down infinitely without any loss in quality. Vector files are the best for our foil stamped products.

Working in Canva: the Basics
Canva is a tool that allows anyone to design and layout print files. It’s popular for wedding merch as it makes a variety of helpful design tools available to everyone. As with many services, there are free and paid versions available. Let’s go over how to submit artwork in the free and paid versions.
Saving a Custom Art File with Canva’s Free Version
Once you’re done with your artwork, go to the top right corner of Canva, click the “share” button, then click the “file type” dropdown menu. If you’re working in the free version, you’ll be limited in the variety of file types you can select. If you’re making something where you have a vector image (like an .ai) that you’re adding text to, or if you’re working entirely in Canva (that is, you’re not uploading any of your own art) select “PDF standard.” If you’re uploading art (say you have a full-color monogram or piece of art), then select “JPG”.
With either option, you’ll be able to upload your file to the FYP Customizer. However, either of those options create a raster image that the FYP team will have to image trace in order to print properly, which can lead to a loss in quality. Your designer will reach out to you individually if we have specific issues.
Saving a Custom Art File with Canva Pro
In Canva Pro, we recommend saving your print files as an SVG. An abbreviation of scalable vector graphic, this file format creates a vector that the FYP team can typically use without any issue. That being said, if you’re creating full color artwork, we’d still recommend using a JPG.
One last thing: no matter what color you choose to print in, custom art that’s not full-color should always be submitted as black! We promise, we’ll still print it in the color of your choice. As always, feel free to let the FYP team know if you have any questions.

Saving a Custom Art File with Illustrator
If you’re working in Illustrator and submitting print files, the best way to do so is as a fully expanded and united .ai file. All text should be outlined (converted to shapes), and all files should be embedded. Clip groups should generally be avoided, as we don’t use them when making dies for art (although they can be used to crop photo orders). See the screenshot below for how it looks on our end when type hasn’t been properly outlined!

In this example, the art on the left hasn’t been divided and united. Your print files should look like the art on the right- no fills in negative spaces, and everything united to be solid shapes.

Feel Free to Get In Touch!
We hope this print file guide has been helpful, and helps make your custom art party accessories the best they can be, no matter your design experience level! As always, we’re just an email or message away if you have any questions about how your order might print.
Shop This Post