Gearing up for your Easter party? Egg dyeing is a fun and traditional activity this time of year—kids love it, and dyed eggs also make a lovely addition to your Easter decor. Here are the quick and easy steps for traditional Easter egg dyeing. Hint: layout old newspaper or paper towels to protect the surface you'll be working on.
How to dye an Easter Egg:
What You Need
- Hard boiled eggs
- Food coloring
- Boiled water
- White vinegar
- Newspaper/paper towels
- Dishes to submerge eggs in dye
- Tongs, slotted spoon or egg dipping tool
- Wire cooling rack
What You Do
1. Start by hard boiling the eggs you'd like to dye. Simply submerge the eggs about an inch under cool water in a pot on the stove. Bring water to a boil, then turn the heat off. Let the eggs sit for about 10-12 until cooked. Remove from water and put in ice water to stop cooking.
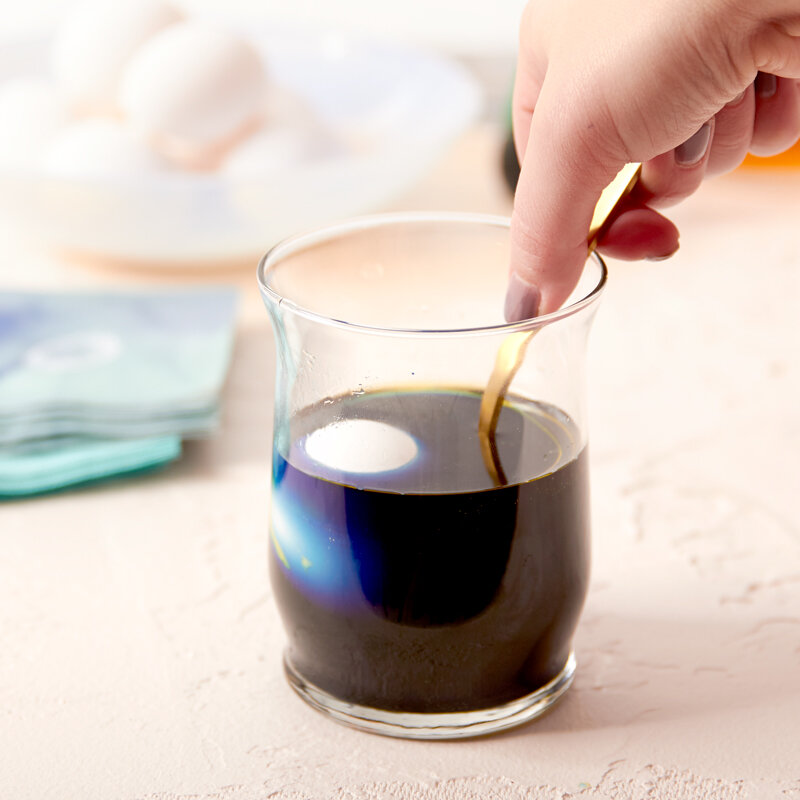
2. Prepare your color by boiling 1/2 cup of water and then combining the hot water with 1 teaspoon of vinegar and about 20 drops of food coloring of your choice.
3. OPTIONAL: Before placing your egg in the dye, you can create designs by drawing on the egg with a wax crayon. The food coloring will not set in any spot with wax, leaving you with a cute Easter egg design!
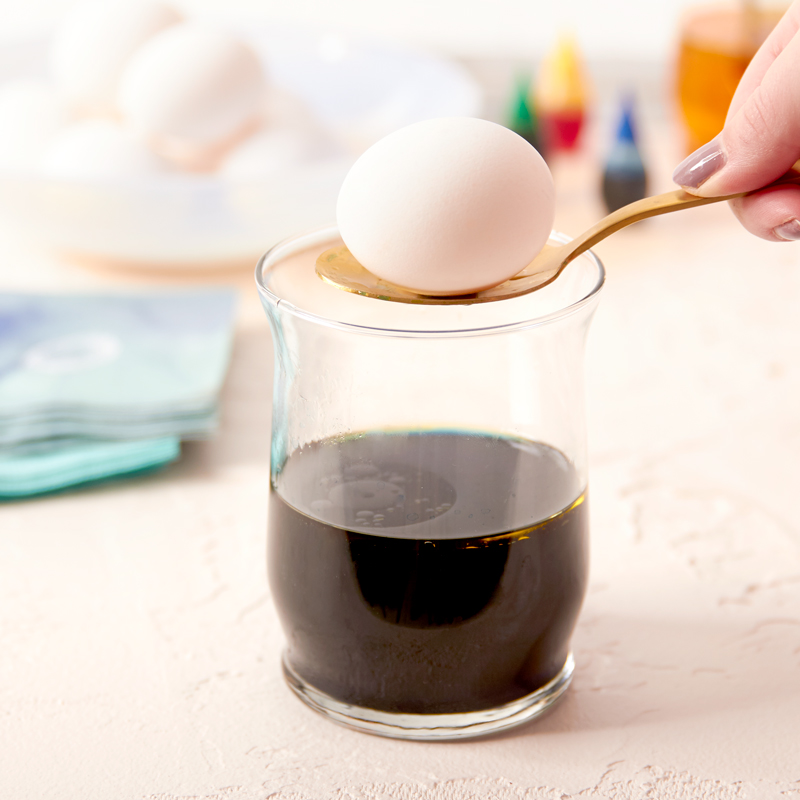
4. Submerge your hard boiled egg in the dye for about 5 minutes, depending on how dark you'd like your color to appear.
5. Remove your egg from the dye and set aside to dry. A wire cooling rack over newspaper or paper towels works great for this. Have napkins or extra paper towels on hand to gently wipe away any pooled dye at the bottom of your eggs if necessary.
Finished! Once dry, you can add your dyed eggs to your Easter decorations. Maybe work them into a table runner for a colorful, springy tablescape. Or, display in a bowl for all to see.


